Contenido
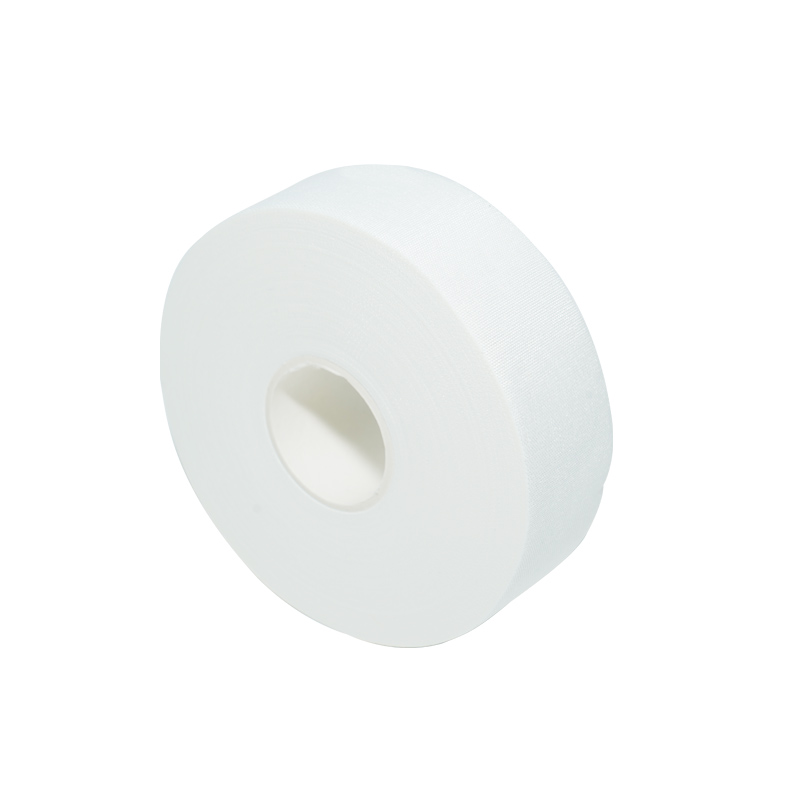
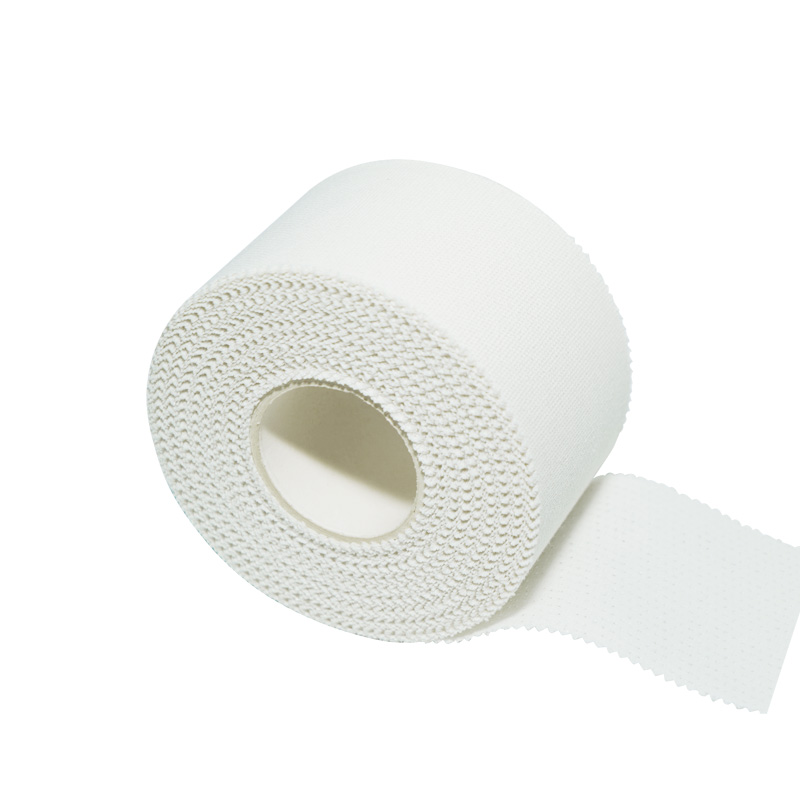
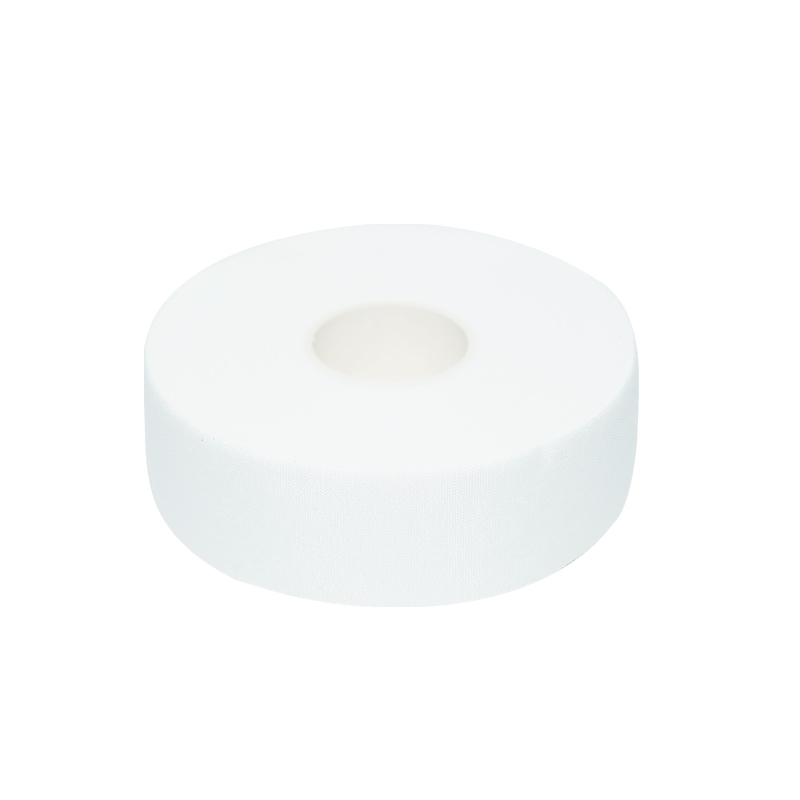
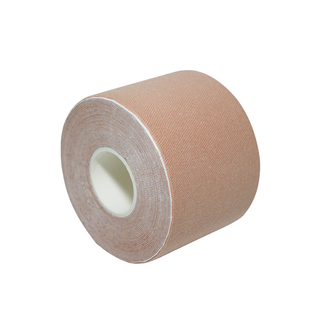
Kinesiology tape — sometimes called kinesio tape, KT tape, or athletic kinesiology tape — is a thin, stretchy therapeutic tape designed to mimic the elasticity of human skin. Unlike rigid sports tape or traditional athletic strapping, kinesiology tape moves with your body rather than restricting it. It can stretch up to 140% of its original length, which allows full range of motion while still providing support to muscles and joints.
The tape works through several overlapping mechanisms. When applied with a specific amount of tension and in a specific direction, it gently lifts the skin away from the underlying tissue. This microscopic lifting effect is believed to decompress pain receptors beneath the skin, improve lymphatic drainage, and increase blood flow to the area — all of which can speed up recovery and reduce discomfort. The direction and stretch percentage of the application also influence whether the tape is stimulating or inhibiting a muscle, making it a versatile tool in both injury treatment and athletic performance.
Developed in the 1970s by Japanese chiropractor Dr. Kenzo Kase, kinesiology taping has since become standard equipment in professional sports, physical therapy clinics, and athletic training rooms worldwide. You've almost certainly seen it — those strips of brightly colored tape running along the shoulders, knees, and backs of Olympic athletes are kinesiology tape in action.
Kinesiology tape is a powerful tool, but it's important to have realistic expectations. Understanding what it's genuinely effective for — and where its limits are — helps you get the most out of it.
Many people confuse kinesiology tape with standard white athletic tape or sports strapping tape. They serve very different purposes and are not interchangeable.
| Feature | Kinesiology Tape | Standard Athletic Tape |
| Elasticity | Highly elastic (up to 140%) | Rigid, non-stretch |
| Range of motion | Full movement preserved | Restricts movement intentionally |
| Primary purpose | Muscle support, pain relief, swelling | Joint stabilization, injury prevention |
| Wear duration | 3–5 days (water-resistant) | Hours; removed after activity |
| Skin feel | Lightweight, breathable, barely noticeable | Stiff, restrictive, bulky |
| Best used for | Muscle strains, swelling, posture correction | Ankle sprains, joint wrapping pre-game |
Correct kinesiology tape application makes the difference between real results and wasted tape. The technique varies depending on the goal — muscle support, lymphatic drainage, or pain relief — but a few universal principles apply every time.
Clean, dry, oil-free skin is essential for good adhesion. Wash the area with soap and water and pat dry — or use a quick wipe of rubbing alcohol. Shave any dense body hair in the area; tape applied over thick hair doesn't contact the skin properly and peels off quickly. Apply tape at least 30–60 minutes before exercise to allow the adhesive to fully bond with your skin.
The amount of stretch you apply to the tape fundamentally changes its effect. Most kinesiology tape instructions describe tension as a percentage of the tape's maximum stretch:
The muscle or joint being taped should be in a stretched position during application. For example, when taping the calf, dorsiflex your foot (pull toes toward the shin) before laying the tape down. When the muscle relaxes back to its normal position, the tape creates the characteristic wrinkled, lifting effect on the skin — which is exactly what you want.
After applying each strip, rub firmly back and forth over the tape for 10–15 seconds. The adhesive in kinesiology tape is heat-activated, so friction from rubbing creates a better bond. This step significantly improves how long the tape stays on, especially during sweaty workouts or in water.
Different injuries require different tape shapes and application patterns. Here are the most common conditions and how kinesiology tape is typically applied for each.
For general knee pain or runner's knee (patellofemoral syndrome), a common approach uses two strips in a Y-shape surrounding the kneecap. The base of the Y anchors below the kneecap on the patellar tendon, while the two tails travel up along either side of the kneecap with 50% tension. A third horizontal strip directly over the kneecap at 75% tension provides additional decompression. The knee should be bent at roughly 90 degrees during application.
Kinesiology tape for plantar fasciitis uses a fan or web technique along the bottom of the foot. With the foot dorsiflexed, one strip runs from the heel to the ball of the foot with 50% tension. Two or three shorter strips are fanned across the arch perpendicular to the first, providing lateral support. This reduces the load on the plantar fascia with every step and can provide significant relief for people who find mornings particularly painful.
For lower back support, two parallel I-strips are applied vertically along each side of the spine (not over the spine itself) from roughly the top of the pelvis to the mid-back. The application is done while the person bends forward to stretch the lower back. With 25% tension on the tape, this creates the lifting effect when standing upright and provides constant sensory feedback that encourages better posture and reduces muscle fatigue.
Shoulder applications are more complex given the multi-directional movement of the joint. A common base technique uses one strip running from the deltoid insertion over the top of the shoulder to the upper trapezius at 25% tension, followed by a second strip anchoring under the shoulder blade. Additional strips can target specific muscles like the infraspinatus or supraspinatus depending on where the pain originates. The arm should be across the body in a stretch position during application.
For medial tibial stress syndrome (shin splints), two strips are applied along the inner border of the tibia from ankle to just below the knee with the foot in dorsiflexion. This inhibits the tibialis anterior slightly, reducing the repetitive stress on the bone and surrounding fascia. Runners dealing with shin splints often find that kinesiology tape allows them to continue training at reduced intensity while the irritation settles down.
Most kinesiology tape is designed to stay on for 3 to 5 days. It's water-resistant enough to shower and swim in, and the breathable cotton or synthetic fabric prevents the skin from becoming overly moist underneath. That said, some factors will shorten wear time: excessive sweating, very oily skin, water sports, or applying over body hair all reduce adhesion.
To remove kinesiology tape without pain, never peel it upward from the skin like a bandage. Instead, fold the end back on itself so the tape lies flat, then press down on the skin in front of the tape as you slowly peel it back in the direction of hair growth. Doing this in or after a warm shower makes removal significantly easier, as moisture loosens the adhesive. You can also apply a small amount of baby oil or rubbing alcohol to the edge and let it soak under the tape for a minute before peeling.
After removal, give your skin at least a few hours before reapplying — especially if it looks red or irritated. Repeated applications without breaks can cause skin sensitization over time.
The market for kinesiology tape has expanded significantly, and not all products perform equally. Here's what to look for when choosing a tape.
Even with the right tape, poor technique leads to poor results. These are the errors that most commonly undermine an otherwise solid kinesiology taping approach.
The scientific literature on kinesiology taping is mixed, which is worth being honest about. Several well-designed studies have found meaningful benefits for pain reduction, swelling management, and proprioceptive improvement — particularly for conditions like shoulder impingement, knee osteoarthritis, and lymphedema. A 2012 systematic review in the journal Sports Medicine found moderate evidence supporting its use for pain relief compared to sham taping or no tape.
At the same time, other studies have found effects that are modest or difficult to separate from placebo. Critics point out that much of the research uses small sample sizes and inconsistent application protocols, making it hard to draw firm conclusions. The honest answer is that kinesiology tape works meaningfully for many people in many situations — particularly for short-term pain relief and swelling reduction — but it's not a miracle cure, and its effects can vary significantly based on the condition, the individual, and how correctly it's applied.
What's not in dispute is that when applied correctly, kinesiology tape is safe, non-invasive, and has virtually no downside for most users. Given its relatively low cost, ease of use, and the genuine relief it provides many people, it remains a worthwhile tool in any active person's recovery kit — especially when used as part of a broader approach that includes appropriate exercise, rest, and professional guidance where needed.
 Carretera Duanshu No.89 Xinggong, Ciudad Pinghu en la provincia de Zhejiang China
  [email protected]
 +86-(0)573-85076991
Copyright © hero-medical.com. Todos los derechos reservados
 Proveedores de Cinta deportiva personalizada
La información proporcionada en este sitio web está destinada únicamente para su uso en países y jurisdicciones fuera de la República Popular China.
 English
 Espana
 Français
 Deutsch